“`html
How to Undo a Zip Tie Without Cutting It
Introduction: Unlock Zip Ties
Zip ties, also known as cable ties, are handy tools for bundling wires, securing objects, and even crafting everyday solutions that require quick fastening. Despite their utility, sometimes the need arises to undo a zip tie without damaging it or the surrounding materials. Whether you’re reusing ties to reduce waste or simply correcting a fastening error, learning to unlock them gracefully is a valuable skill. This post will guide you through the easy step-by-step process to undo a zip tie with basic tools and no heavy-handed techniques. By understanding the locking mechanism and using precision tools, you can seamlessly release the hold of a zip tie without causing damage. Read on to explore a practical guide designed for DIY enthusiasts, professionals, and anyone with an affinity for sustainable practices.
Step 1: Gather Supplies
Before embarking on the process of undoing a zip tie, it’s essential to gather the necessary supplies. While there are various methods to achieve this task, the most efficient and least damaging way requires minimal tools. One of the primary tools you’ll need is a small sharp object, such as a flathead screwdriver or a metal pin. The tool should be thin yet strong enough to manipulate the zip tie’s locking mechanism without breaking.
Another useful item could be a pair of pliers, especially if the zip tie has been tightened extensively. Pliers help in grasping small parts and can exert the needed pulling force if the tie is stubborn. Additionally, ensure good lighting conditions to clearly see the mechanism and angles of insertion. With these supplies ready at hand, you can proceed with confidence to the next step, preparing for precision and ease during the unlocking process.
Step 2: Find the Lock
The next step involves locating the lock on the zip tie. This component is crucial because it is the main aspect that secures the tie in its fastened position. In most zip ties, the lock is within the square casing where the tail of the tie is threaded through. It contains a small, wedge-like tang that catches on the ridges of the tie, allowing it to tighten but not loosen.
To successfully unlock the tie, closely examine this locking element. In standard ties, this might require gently rotating or flipping the tie to get the best view. Doing this helps you understand the tie’s mechanism more intimately, identifying the exact spot where you need to insert your tool. Pay attention to the angle for the following step, as correctly positioning your tool is dependent on accurately identifying the lock’s structure.
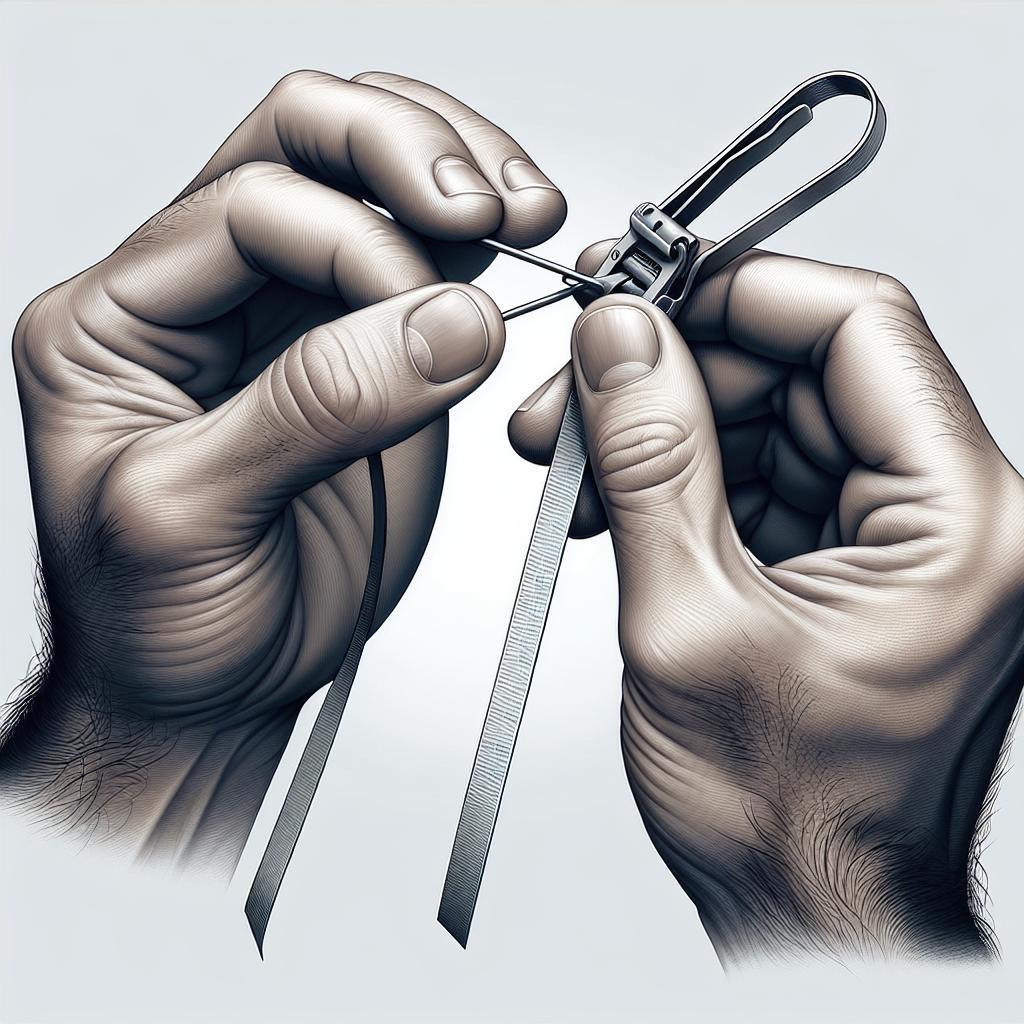
Step 3: Stick the Pin In
With the locking mechanism identified, the real trick lies in the precise insertion of a thin, sharp tool. Whether you choose a sewing pin, paperclip, or mini screwdriver, the tool must be inserted underneath the zip tie’s locking tab. This requires steady hands and concentration to ensure that the pin slides into place without damaging the tie or lock. Carefully place the tip of your pin or tool at the gap between the locking tab and the tied strip.
Once you have ensured a firm positioning, gently wiggle the tool and push it beneath the tab. This action triggers the release mechanism by temporarily disconnecting the tang from the tie’s ridges, making it ready for loosening. Remember to maintain a firm yet cautious grip, as excessive force can bend or break the tool, or damage the lock. With this step successfully executed, you’ve almost danced your way through to freeing the zip tie.
Step 4: Pull
Now that the locking mechanism is disengaged, proceeding to the final step involves simply pulling the tail of the tie gently through the lock. At this stage, tension is your ally as too much force may accidentally re-engage the lock. Grab the end that’s free from the tool you’ve inserted and lightly pull it backward, allowing the ridged side of the tie to slide out smoothly.
Sometimes the zip tie might need additional encouragement if it’s been firmly locked, which is where the finesse of your pin or tool comes into play. Keep the tool in position while maneuvering the tail with slow, even tugs. The motion should be fluid, and any resistance should be addressed by readjusting the tool rather than forcing the tie. Mastering this step ensures a reusable tie that stays intact for future projects.
| Steps | Actions | Key Points |
|---|---|---|
| Step 1 | Gather Supplies | Use sharp, thin tools; prepare under good lighting. |
| Step 2 | Find the Lock | Identify the lock within the square casing; locate the tang mechanism. |
| Step 3 | Stick the Pin In | Insert tool carefully beneath lock without damaging; release the tang. |
| Step 4 | Pull | Gently pull the tail; maintain tool position to keep lock disengaged. |
“`

